Thanks to our friends at Zapier, you can now send and receive SMS from 100,000’s of programs, CRM’s and platforms.
How Zapier works?
Zapier allows you to easily create dynamic workflows using triggers (when this happens) and actions (do this) – workflows can be simple or complex by involving more than one trigger and action.
Here are some example of a workflow can be formulated using Zaps:
JotForm (Survey/Attendance) > Google Sheets (Submissions Register) > Edgility (Confirmation SMS to Submitter)
Shopify (New Order Received) > Edgility (Confirmation SMS to Customer)
Integrating SMS into your business processes has never been easier.
What can you do with the Edgility App for Zapier?

New Incoming SMS (trigger)
Create a workflow or process that starts when you receive a reply to a message sent from your Edgility account or any message sent to your unique Virtual Number.
Example
Edgility (New Incoming SMS) > Google Sheets (Create New Row)
Send SMS (action)
This action allows you to send an SMS in reaction to any set trigger. You will need to ensure that whatever Zapier App triggers this action, also passes through a valid mobile number for sending.
Example
Shopify (New Order Received) > Edgility (Send SMS)
Create Contact (action)
Start building an authorised SMS contact list by having contacts automatically created in your Edgility account, as the result of a trigger.
Example
Mailchimp (New Subscriber) > Edgility (Create New Contact)
Are you signed up to Zapier?
Zapier provides the workflow infrastructure, that allows you to connect the services of thousands of platforms, for the purpose of streamline processes. To start creating Zaps, sign in or sign up to Zapier
*Signing up to Zapier is completely FREE and includes up to 5 operating zaps – fees apply if you require more.
Connecting the Edgility App in Zapier?
Log in to Zapier and navigate to My Apps.
Use the search bar to type in and search for Edgility – click and select the app to reveal the API connection screen
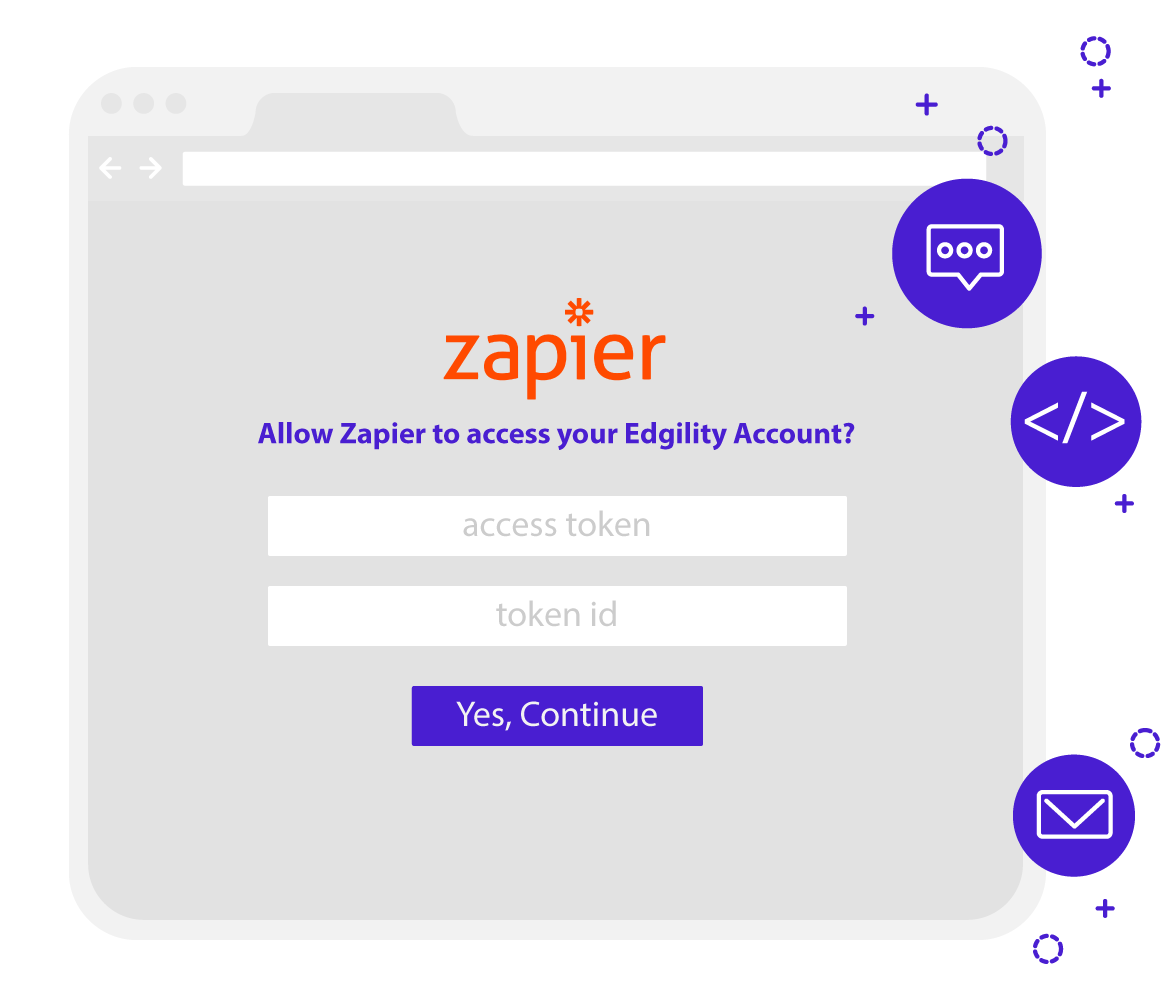
Here, you’ll be asked to enter your Edgility Access Token and Token ID to complete the connection between Zapier and Edgility.
Your unique Access Token and Token ID details can be accessed by logging into your Edgility account and navigating to SETTINGS > API
Simply click on the API name to reveal the details – copy and paste these into the relevant fields of the API connection screen.
Click “Yes, Continue” to complete the connection.
Create a Zap using the Edgility Apps.
Now that your Edgility App is connected, you can start creating zaps!
Simply click the CREATE A ZAP button on your Zapier dashboard to get started.

